INTRODUCTION
Starting a DIY flooring project without a plan is like taking a road trip with no map. Sure, you might reach your destination eventually, but the journey is much more likely to be filled with wrong turns and avoidable backtracking.
Thorough planning helps you avoid those headaches, and when it comes to flooring installations, a detailed estimate is critical, as it will help you create an accurate forecast of how much money and time you’ll need to invest to get the job done right.
In this guide, we’ll walk you through the essential steps of estimating your DIY flooring project, from determining your budget and choosing the right type of flooring to creating a detailed plan and gathering the necessary tools and materials. By the end, you’ll have a clear understanding of what to expect and will be able to tackle your next project with confidence.
DETERMINE YOUR BUDGET
A thoughtful budget will help you determine which materials you can afford and create a financial framework to guide your DIY project. Start by determining the total amount you’re willing to spend. From this figure, you’ll need to divvy the pot amongst several categories:
Material Costs
• Primary flooring material
• Underlayment
• Moisture barriers (if needed)
• Transition pieces and moldings
• Adhesives, fasteners, and other installation materials
Tool Costs
• Essential tools for installation
• Specialty tools rental (if needed)
• Safety equipment
Additional Expenses
• Old flooring removal and disposal
• Subfloor preparation and repair materials
• Furniture moving assistance (if needed)
• Professional consultation for complex aspects
Contingency Fund
• Always reserve a portion of your budget for unexpected issues that will inevitably arise
In your prioritization of expenditures, focus on quality flooring materials and essential installation components first (skimping on these primary elements often leads to disappointing results and costly do-overs). If budget constraints exist, consider where you might reduce costs in secondary categories -- by borrowing tools, for instance, instead of purchasing them yourself.
Also, keep in mind that, while initial price points are important, you should also be keeping long-term value in mind. Calculate the cost per year over the expected lifespan of different flooring options to determine which represents the best investment. For example, a long-lived solid hardwood floor might ultimately be more economical than a vinyl floor that needs replacement after a few years.
CHOOSE THE RIGHT FLOORING TYPE
Benefits of Different Flooring Type

Solid Hardwood Flooring
Longevity: Solid hardwood is one of the most enduring flooring options available -- it can last decades with proper care and can be refinished multiple times to restore its appearance.
Aesthetics: Hardwood comes in numerous species, colors, grain patterns, and finishes, complementing virtually any interior design style.
Maintenance: Regular sweeping and occasional damp mopping keeps solid hardwood looking beautiful. Periodic refinishing can restore your floor to like-new condition.

Engineered Hardwood Flooring
Stability: The multi-layered construction of engineered hardwood offers exceptional dimensional stability, making it resistant to expansion and contraction due to humidity changes. This advantage allows installation in areas where solid hardwood isn’t recommended, like basements.
Style: With a genuine hardwood veneer, engineered flooring offers authentic wood beauty in a wide range of species and finishes. Many engineered floors feature wider planks and longer lengths than traditional solid hardwood.
Versatility: Engineered hardwood can be installed using multiple methods -- floating, glue-down, or nail-down -- providing flexibility based on your subfloor type and preference.
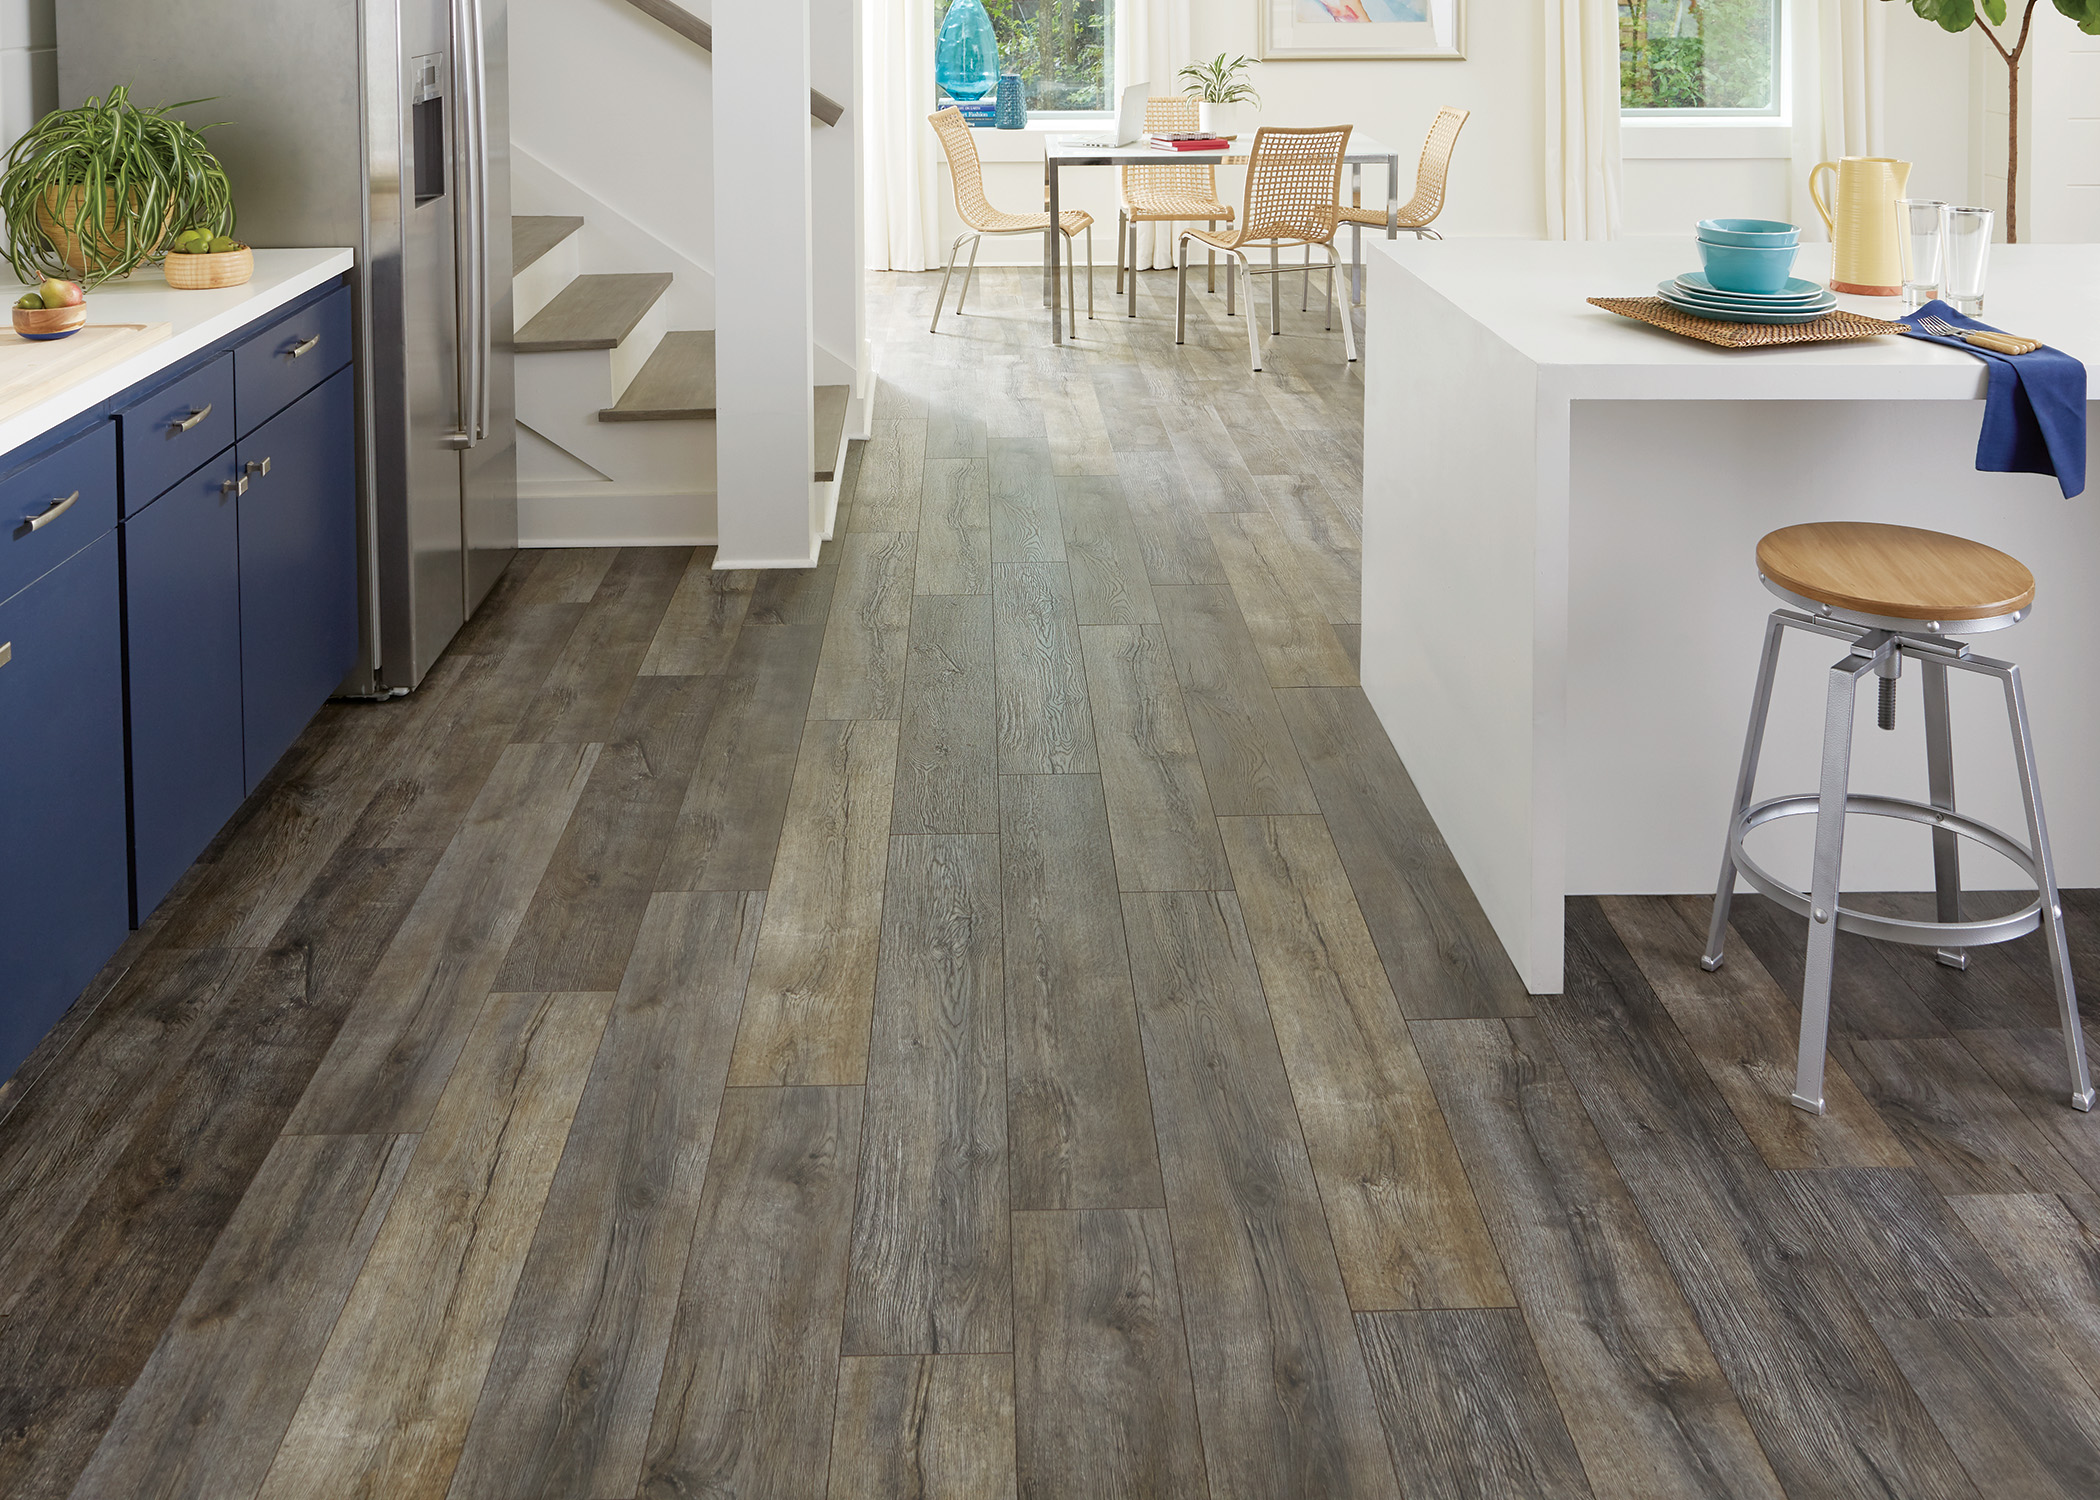
Laminate Flooring
Ease Of Installation: Laminate’s click-lock installation system allows pieces to connect without glue or nails, creating a floating floor that can be installed over most existing hard surfaces.
Ease Of Maintenance: Laminate’s durable wear layer resists stains, scratches, and fading, requiring only regular sweeping and occasional damp mopping.
Realistic Looks: Advanced printing and texturing technologies create laminate floors with remarkably realistic wood and stone visuals at budget-friendly price points.

Vinyl Flooring
Value: Vinyl offers exceptional value, delivering impressive performance at impressive prices.
Durability: Modern vinyl features multiple layers designed for maximum longevity, including heavy-duty wear layers that resist scratches, stains, and dents.
Waterproof Performance: Vinyl’s waterproof construction and easy maintenance make it ideal for moisture-prone areas like bathrooms, basements, and kitchens.

Hybrid Resilient Flooring
Combined Advantages: Hybrid flooring features a rigid core for stability, a resilient vinyl wear layer for durability and water resistance, and sophisticated printing technology for realistic wood or stone visuals.
Water Resistant Performance: Hybrid flooring offers water resistant construction that mitigates damage from exposure to moisture, making it suitable for bathrooms, laundry rooms, and kitchens.
Easy Installation and Maintenance: Hybrid flooring features an easy-to-master click-lock system, making it accessible to most DIY customers. Regular sweeping and occasional damp mopping are usually sufficient for maintenance.
Consider Your Home And Lifestyle
When selecting the ideal flooring for your space, initial costs will be critical, but you should also keep these secondary factors in mind:

Traffic Level
Assess how much foot traffic the area receives daily. Entryways, hallways, and family rooms typically experience heavy use and benefit from durable flooring options. For less frequently used spaces like guest bedrooms, you might prioritize aesthetics over maximum durability.

Lifestyle Considerations
Your household’s specific needs will impact which type of flooring provides you with the best value. Homes with children and pets, for instance, generally benefit from scratch-resistant, easy-to-clean surfaces like luxury vinyl plank, hybrid resilient, or laminate flooring.
Dimensions and Design Preferences
The size of your space may affect which flooring will work best within it. In smaller rooms, for example, lighter colors and longer planks can create a sense of spaciousness. You’ll need to consider the look you’re trying to achieve to select the right floor for the job.

Installation Complexity
Be realistic about the installation difficulty for different flooring types. While you might save on labor by installing yourself, some flooring products require specialized skills and tools that might justify professional installation.
ESTIMATING MATERIALS
Measuring Your Space
Accurate measurements form the foundation of reliable time and cost estimates, so here’s how to do yours correctly. First, you will need to gather some tools:
• Tape measure: The most essential tool for any flooring project. Choose a 25’ or longer tape with clear markings.
• Laser measure: For large or complex spaces, a laser measure provides quick, accurate readings and can calculate area automatically.
• Measuring wheel: Useful for very large commercial spaces or oddly shaped rooms.
• Graph paper and pencil: For creating scaled drawings of your space.
• Digital measuring apps: Several smartphone apps can help capture and calculate measurements.
Once you have your tools, you’ll need to measure:
1. Create a floor plan sketch: Draw a diagram of your space, including all walls, doorways, closets, and permanent fixtures like kitchen islands or built-in cabinets.
2. Break complex rooms into sections: For irregularly shaped rooms, divide the space into rectangles or squares and measure each section separately.
3. Measure each wall: Take measurements at floor level (not at baseboard height), as walls may not be perfectly straight. Record measurements to the nearest 1/8 inch.
4. Account for closets and nooks: Measure these areas separately and add them to your total square footage.
5. Consider doorways and transitions: Note the locations of doorways where transition strips will be needed.
6. Identify obstacles: Mark the location of floor vents, floor outlets, fireplaces, or other permanent fixtures that will require special cutting.
7. Check your work: Double-check all measurements and confirm that opposite walls are approximately the same length (allowing for normal house settling).
For rectangular spaces, multiply length by width to calculate square footage. For triangular sections, multiply the base by height and divide by two. Add the square footage of all sections to determine the total area.
Calculating Material Quantities
Once you’ve measured your space accurately, you can calculate how much flooring material you’ll need using this formula:
Total Area (in square feet) + Waste Factor = Amount to Purchase
Understanding Waste Factors:
Different installation patterns and room configurations require different waste factors:
• Straight lay installation: Add 7-10%
• Diagonal installation: Add 15%
• Herringbone or complex patterns: Add 15-20%
• Rooms with numerous obstacles: Add 3-5% on top of your existing waste factor
Calculating Additional Materials
There’s more to a flooring installation than flooring, so be sure to calculate these additional materials:
• Underlayment: Same square footage as your flooring plus 5% waste
• Moisture barrier (if needed): Same square footage as your flooring plus 10% waste for overlap
• Transition strips: Measure the exact length of each doorway or transition
• Quarter round or shoe molding: Measure the perimeter of the room, excluding doorways
• Adhesives: Check manufacturer specifications for coverage rates per gallon
• Fasteners: For nail-down installations, estimate approximately 2 lbs of flooring nails per 100 sq ft
COST ESTIMATION
Considering Costs
Developing an accurate cost estimate requires an understanding of the various factors that influence project investment, including the material measurements we made earlier. Here’s a breakdown of what to expect…
• Flooring type: Can range from approximately $0.50 per square foot for basic products to $15+ for premium flooring options
• Quality tier: Some flooring types offer good/better/best options with corresponding price increases
• Brand factors: Premium brands often command premium prices, but may also offer better warranties
• Special features: Fancy wear layers, waterproof performance, and other advanced features can increase costs
• Current market conditions: Prices can fluctuate based on material availability and shipping costs
Budget Breakdown
Now it’s time to use our measurements to calculate our estimated project budget. Yours should include:
Material Costs
|
Item |
Calculation Method |
|
Primary flooring |
Square footage × price per sq ft |
|
Underlayment |
Square footage × price per sq ft |
|
Moisture barrier |
Square footage × price per sq ft |
|
Transition pieces |
Number of transitions × cost each |
|
Moldings/trim |
Linear feet × price per foot |
|
Adhesives/fasteners |
Based on coverage rates |
Tools and Accessories
|
Item |
Typical Cost |
|
Basic hand tools |
$50-$150 set |
|
Specialty cutting tools |
$20-$50/day rental |
|
Flooring installation kits |
$30-$75 |
|
Moisture meters |
$15-$30/day rental |
|
Safety equipment |
$25-$75 |
Contingency Fund
Always include a contingency fund for unexpected issues like subfloor repairs, additional materials needs, or tool replacements. There’s always a chance that your plan will run into obstacles, and having the extra money on-hand will help you remain flexible and adapt.
TIME ESTIMATION
Creating a realistic timeline is essential for managing your DIY project; it will progress through several distinct phases:
Planning (Several weeks before installation):
• Research and select flooring materials
• Take measurements and calculate quantities
• Purchase materials and allow for delivery time
• Gather necessary tools and supplies
Preparation (1-3 days):
• Remove furniture from the installation area
• Remove existing flooring
• Prepare and repair subfloor as needed
• Acclimate flooring materials to your home’s environment
o Solid hardwood: 3-5 days minimum
o Engineered wood: 48-72 hours
o Laminate: 24-48 hours
o Vinyl plank: 24-48 hours (some require no acclimation)
Installation (time varies by flooring type and room size)
For a standard 12’ × 12’ room (144 sq ft):
• Laminate or click-lock vinyl: 1 day for experienced DIYer, 2 days for beginners
• Engineered hardwood floating floor: 1-2 days
• Glue-down vinyl or engineered hardwood wood: 2 days (includes adhesive curing time)
• Nail-down hardwood: 2-3 days for DIYers
• Tile: 2-4 days (includes mortar and grout curing time)
Finishing (1 day):
• Install trim and transition pieces
• Clean up the installation area
• Move furniture back into the space
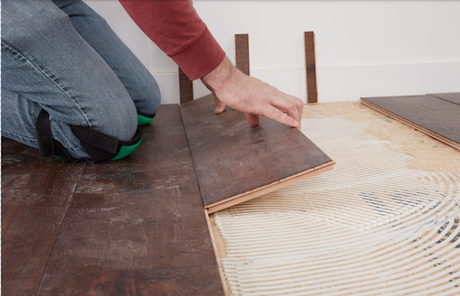
TOOLS
Here’s a list of tools needed for estimating, planning, and installing your new flooring:
• Tape measure (25’ recommended)
• Carpenter’s square
• Calculator
• Notepad and pencil
• Digital camera or smartphone (for documenting current conditions)
• Moisture meter (especially important for hardwood installations)
• Level (2’ and 6’ recommended)
• Pry bar for removing baseboards
• Floor scraper for old adhesive removal
• Vacuum with HEPA filter
• Broom and dustpan
• Painter’s tape for marking cut lines
• Utility knife with extra blades
• Hammer
• Safety glasses and knee pads
• Dust mask or respirator
• Work gloves
• For laminate/vinyl/engineered flooring: Laminate cutter or miter saw
• For hardwood: Circular saw or table saw
• For detailed cuts: Jigsaw or coping saw
• For undercutting door jambs: Jamb saw or oscillating multi-tool
• Tapping block and pull bar (for click-lock floors)
• Flooring nailer (for nail-down hardwood)
• Notched trowel (for glue-down installations)
• Spacers for expansion gaps
• Rubber mallet
• Chalk line for layout guidelines
REVIEW AND ADJUST
Reviewing Estimates
Before finalizing your project plan, conduct a thorough review of all estimates to identify potential errors or oversights:
Verify Measurements:
• Remeasure rooms if initial measurements seem questionable
• Cross-check your calculations by using alternative methods (e.g., calculating by total area vs. wall-by-wall)
• Verify that all areas (closets, transitions, etc.) are included in your totals
Recalculate Materials:
• Double-check waste factor calculations based on your specific installation pattern
• Ensure box quantities have been rounded up appropriately
• Verify all transition measurements (doorways, material changes)
• Cross-reference your material list with manufacturer installation guides to ensure nothing is missing
Double Check Your Budget:
• Compare your budget total to industry averages for similar projects
• Identify any categories that seem unusually high or low
• Update material prices if significant time has passed since initial research
• Recalculate costs if project scope has changed
Assess Your Timeline:
• Compare your timeline to recommended installation times for your flooring type
• Ensure adequate acclimation time is included for your specific product
• Verify that your schedule accounts for realistic working hours
• Add buffer days for unexpected delays
Check for Common Mistakes in Your Estimate:
• Forgetting to account for closets and alcoves
• Insufficient waste factor for complex rooms
• Missing transition pieces at doorways or material changes
• Underestimating subfloor preparation needs
• Failing to include adhesive or fastener quantities
• Not accounting for pattern matching requirements
CONCLUSION
Successfully estimating your DIY flooring project requires attention to detail and careful planning across multiple dimensions. Remember these essential elements of effective project estimation:
Measurement Accuracy: Precise measurements form the backbone of all subsequent calculations. Take the time to measure carefully, account for all spaces (including closets and transitions), and double-check your work.
Material Calculation: Apply waste factors based on your installation pattern and room complexity. Always round up to the nearest box or carton, and purchase a small additional percentage for future repairs.
Budget Development: Create a budget that includes all materials, tools, and potential additional expenses. Include a contingency fund of 10-15% for unexpected issues, and regularly review costs as your project progresses.
Timeline Planning: Develop a realistic schedule that accounts for material delivery, acclimation, preparation work, and installation time appropriate for your skill level. Include buffer days for unexpected challenges, and adjust your timeline as needed during the project.
Tool and Material Preparation: Gather all necessary tools and materials before beginning your installation to prevent mid-project delays. Consider rental options for specialty tools, and ensure you have adequate safety equipment.
And, while this guide provides ample information on estimating your DIY flooring project, we understand that every home and situation is unique. The Lumber Liquidators team is always available to help you navigate specific challenges or questions throughout your project planning process.
Our experienced staff can provide valuable assistance with:
• Verifying your measurements and material calculations
• Recommending appropriate products for your specific needs
• Suggesting alternative approaches for challenging spaces
• Advising on tool selection and rental options
• Connecting you with qualified installation professionals when needed.
Remember that even experienced DIYers occasionally need expert advice. Whether you’re tackling your first flooring project or your fifth, we’re committed to helping you achieve beautiful, lasting results. Your success is our priority -- after all, there’s nothing more satisfying than enjoying a beautifully finished floor that you installed yourself!